Create an IAM user in your AWS account
Managing access to your AWS resources effectively is crucial for security and operational efficiency. AWS Identity and Access Management (IAM) enables you to create users and assign them precise permissions. Here's how to set up an IAM user step-by-step.
Root user
When you first create an Amazon Web Services (AWS) account, you begin with a single sign-in identity that has complete access to all AWS services and resources in the account. This identity is called the AWS account root user and is accessed by signing in with the email address and password that you used to create the account.
- The "root account" is simply the account created when first setup your AWS account. It has complete Admin access on your account.
AWS strongly recommend that you do not use the root user for your everyday tasks, even the administrative ones. Instead of using the root user we can create IAM user and allocates the appropriate permissions for the IAM user.
IAM stands for Identity and Access Management (IAM). IAM is a web service that helps you securely control access to AWS resources for your users. We can use IAM to control who can use our AWS resources and how they can use resources.
IAM Features:
- You can provide Shared Access to your AWS account
- You can grant different permissions to different people for different resources.
- IAM allows you to manage users and their level of access to AWS console.
- IAM is universal. It does not apply to regions.
- You can enable Multi-factor authentication (MFA) for your AWS account
- IAM allows you to set up your own password rotation policy
- Integrates with many different AWS services
Steps to Create an IAM user:
- The "root account" is simply the account created when first setup your AWS account. It has complete Admin access on your account.
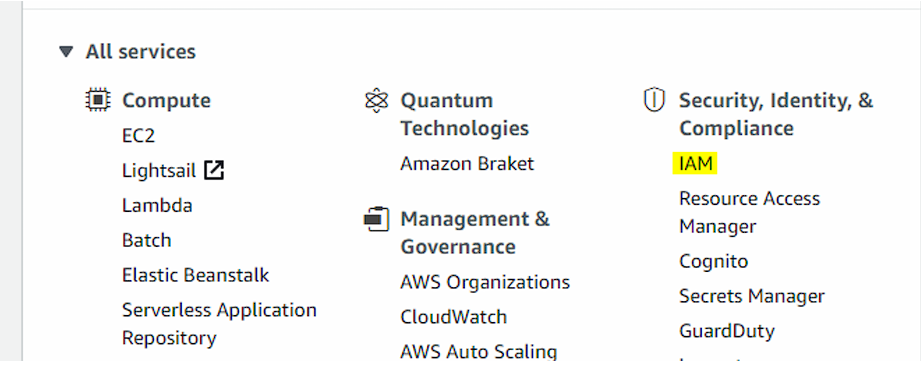
- IAM users have to sign-in using a dedicated Sign-In link. Every AWS account user will get a 12 Digit account number, that 12 digit number will be displayed on the Sign-In link, if you don’t want to expose the account Number you can give an Alias name. For that select the “customize” option in IAM dashboard.
- To create a new IAM user, Please select “Users” option under IAM Resources and Select “Add User” option.
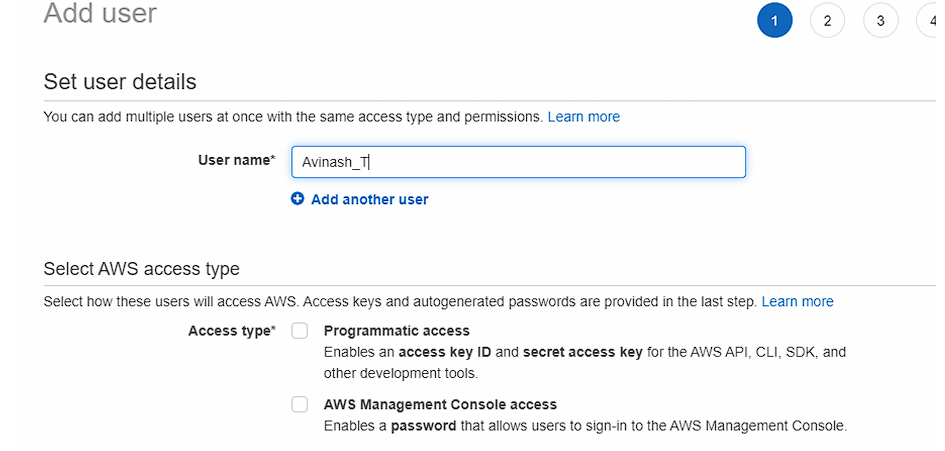
- We need to provide a “user name” for the newly creating IAM user. This username must be unique with-in your AWS account.
- Then you have to select AWS access type. We have two types of the access types
- Programmatic access: This Enables the access to your AWS account by AWS API, CLI, SDK, and other development tools. You will get an access key ID and secret access key if you select this access type.
- AWS Management Console access: This enables users to sign-in to the AWS Management Console i.e; Web Browser. You will get a username and password to login.
- If you select “AWS Management Console access” you have to get a password by “Auto generated password” or “Custom password” option.
- You can select the “Require password reset option” tick box if you want IAM user to create a new password at next sign-in.
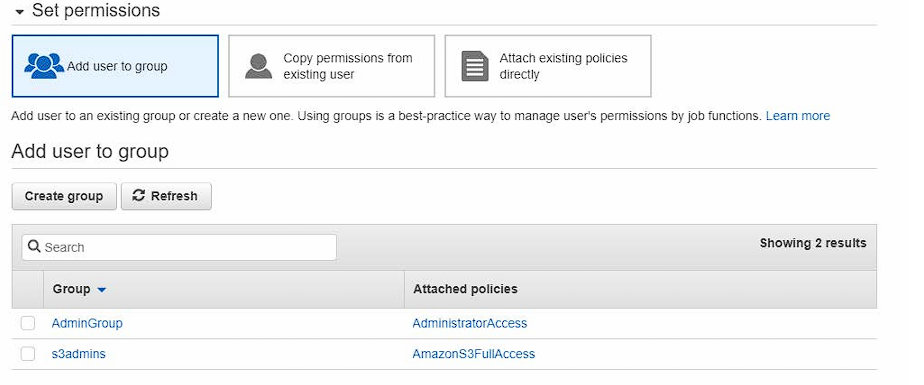
- By default IAM users will create with NO Permissions. If you want to allocate certain level of permission on any of the AWS resource, you have to attach/apply policy to the user.
- You can directly Attach one or more existing policies directly to the users or create a new policy
- If you have any existing user with policies you can select the user, same permissions will apply for the newly created user also.
- Or, you can create a group allocate the policy on top of the group, then you can add this IAM user to that group. Creating group will eases the administration.
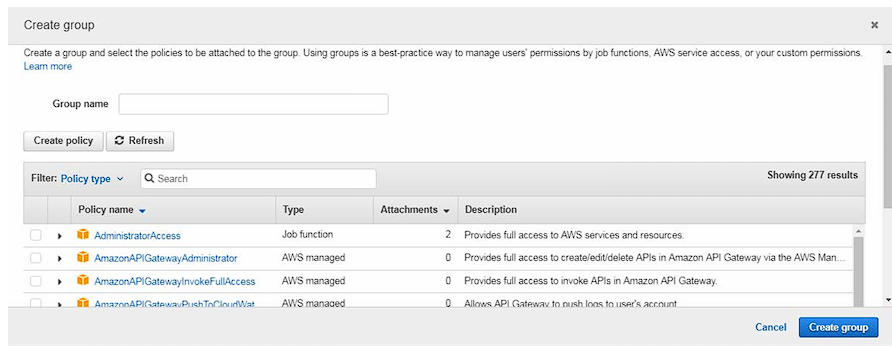
- To create a group, select the “Create a Group” option and you will get a pop-up to select the policy. You can filter the policies based on your requirement and select. Here is some key policies, you have to remember
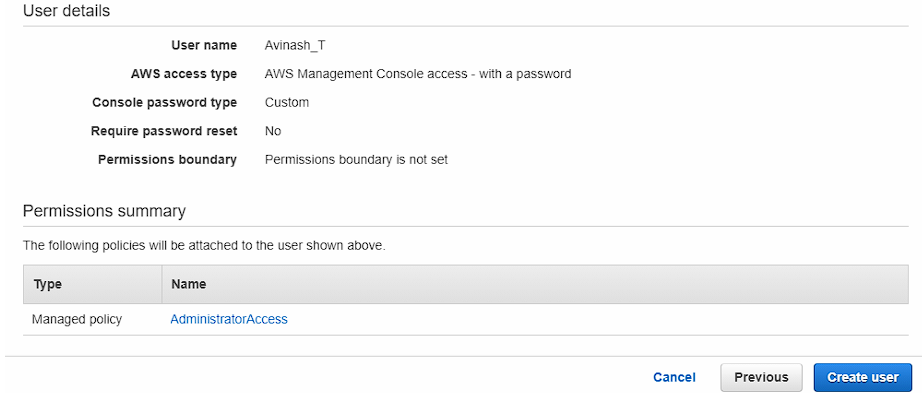
- AdministratorAccess: Provides full access to AWS services and resources Except Billing and Account management. He can create/delete an IAM user or Groups.
- PowerUserAccess: Provides full access to AWS services and resources, but does not allow management of Users and groups. He can launch any resource but doesn’t have any permission to create a new user, group or deleting an existing user.
- ReadonlyAccess: Provides Read Only access on all AWS services and resources.
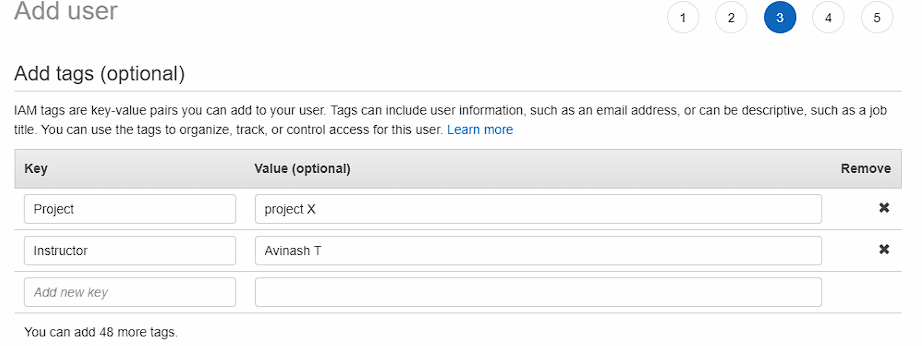
- Add required tags. Tag allow us to add metadata to the AWS resources.
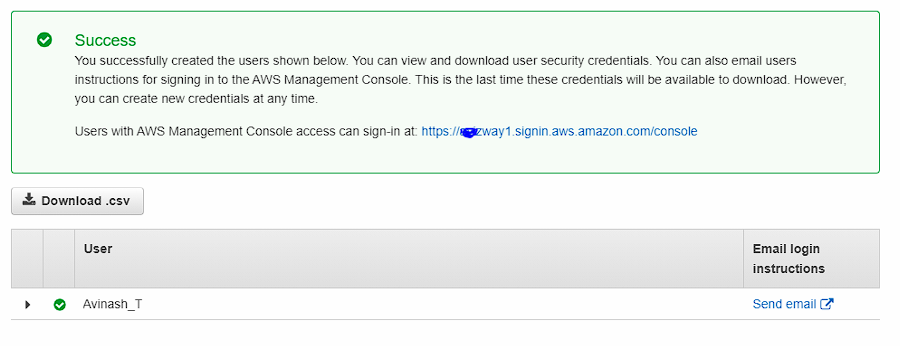
- Review the screen and click on “Create User” option. New IAM user will create and you can send the credentials directly to the user by using “Send Email” option.
- You can download the Credentials.csv file and keep it in a secured location.
- By using the mentioned IAM sig-in URL, this newly created IAM user can login to AWS console.

To Create group, use the “Create Group” option and choose the required policy. Permissions managed at group level, not at user level.
AWS DevOps course
Enroll now to get cerificate
